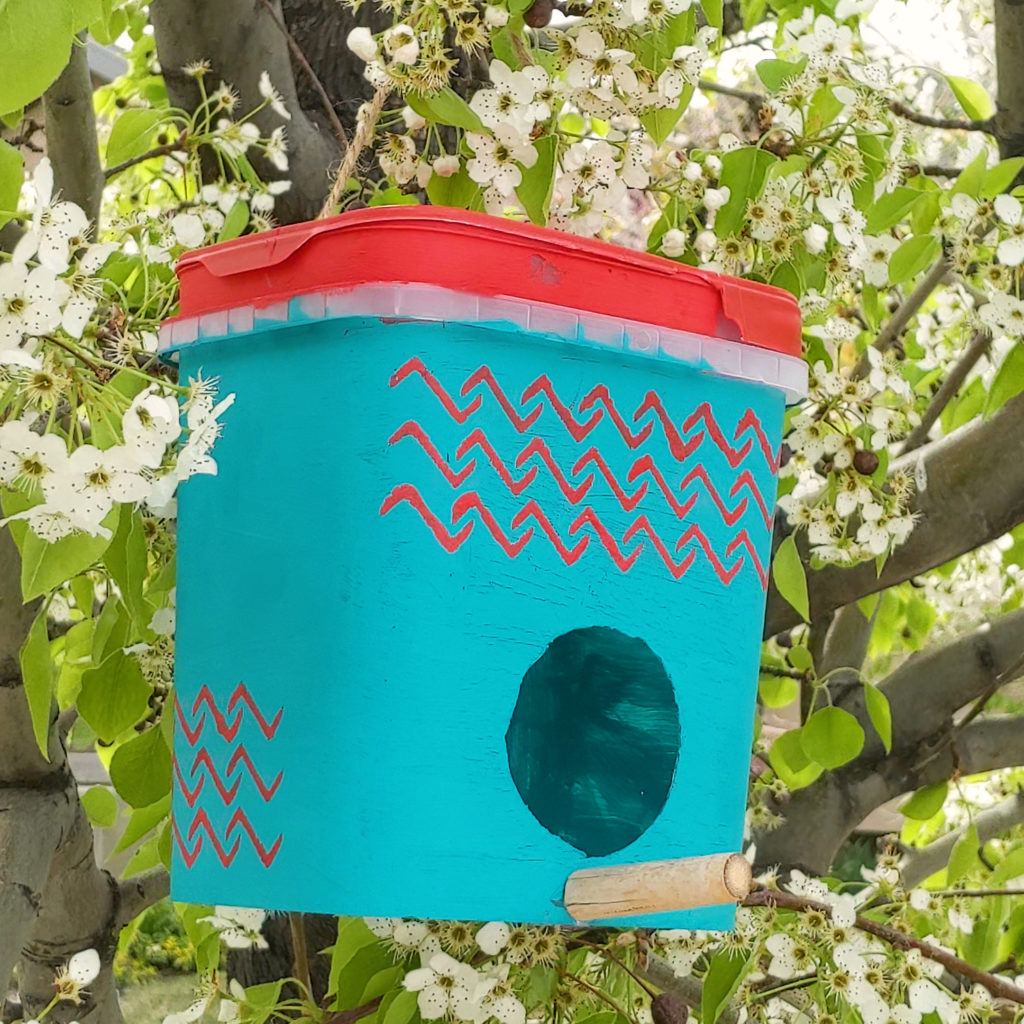
A healthy ecosystem is biodiverse, which means it gives a home to many different species. We can help the whole ecosystem stay healthy by helping one animal at a time. Right in your backyard, you can build a birdhouse and give a bird a safe place to hatch and care for its chicks. You probably have supplies for this project already in your home!
STEP 1
Gather your supplies.
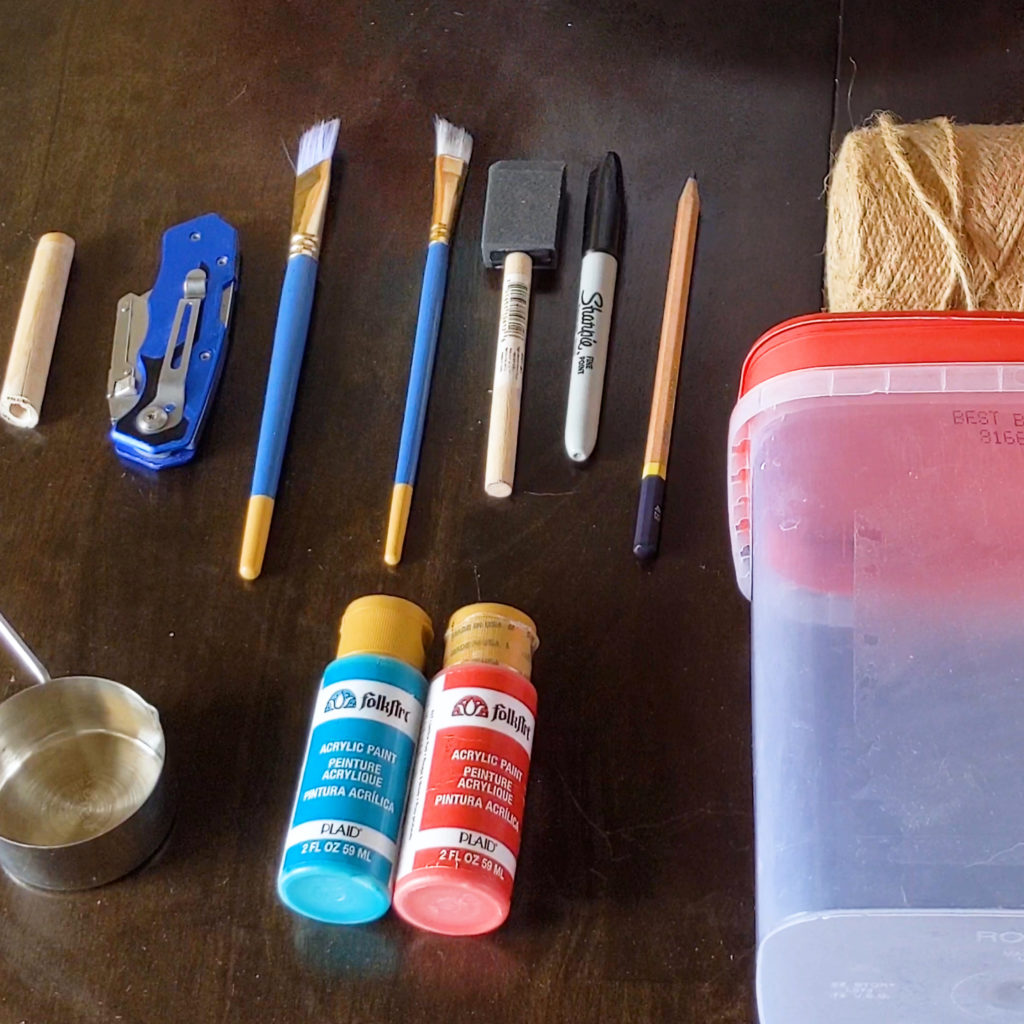
- Clean plastic container*
- Paint
- Paint brushes
- Wooden dowel or stick
- Box knife or scissors
- Rope or string for hanging
- Hot glue
- ⅓ cup measuring cup
- Permanent marker
- Sandpaper
- Any other decorating materials you like!
*The size of the container will attract different types of birds. See the chart below for more information on what size container to choose:
| Bird species | Interior floor space (inches) | Total birdhouse height (inches) | Height of entrance above floor (inches) |
| Downy woodpecker | 4×4 | 8-10 | 6-8 |
| Northern flicker | 7×7 | 16-18 | 14-16 |
| Black-capped chickadee | 4×4 | 8-10 | 6-8 |
STEP 2
Clean out your container
STEP 3
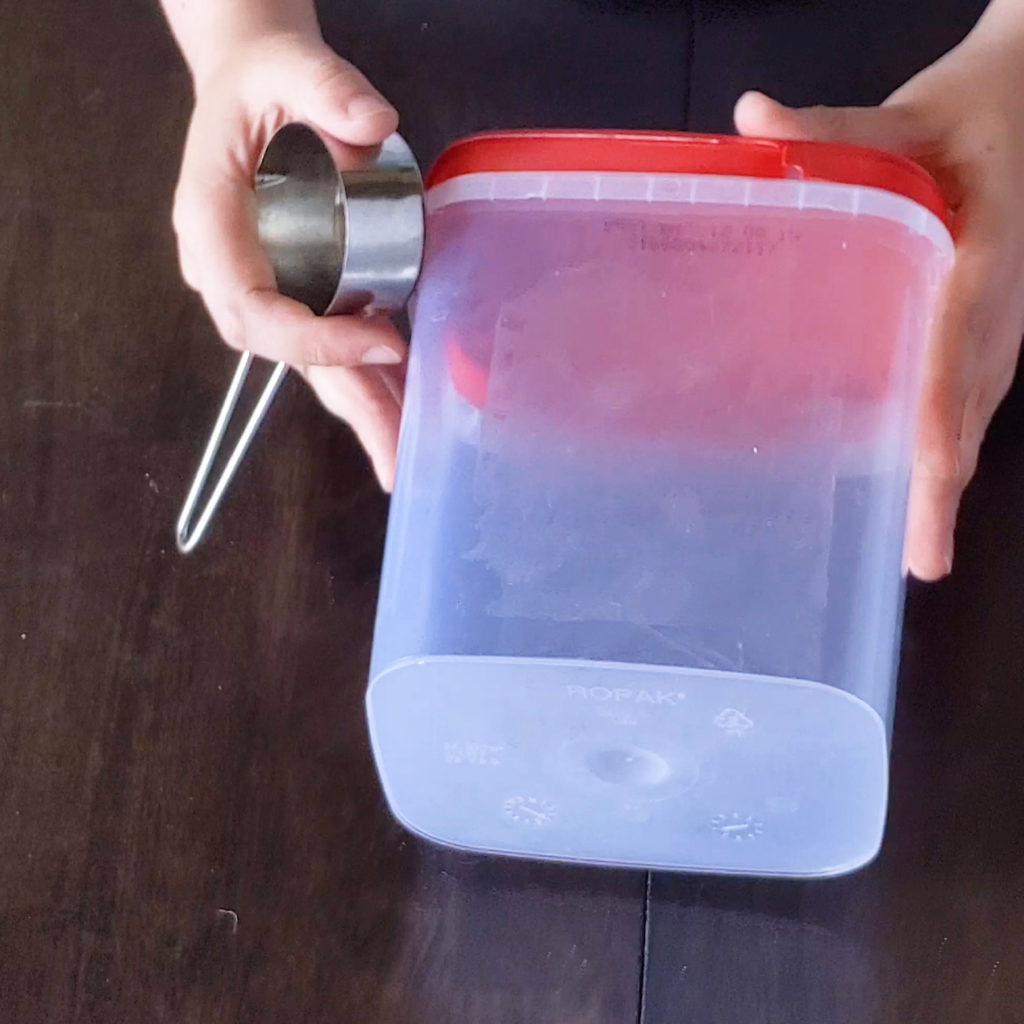
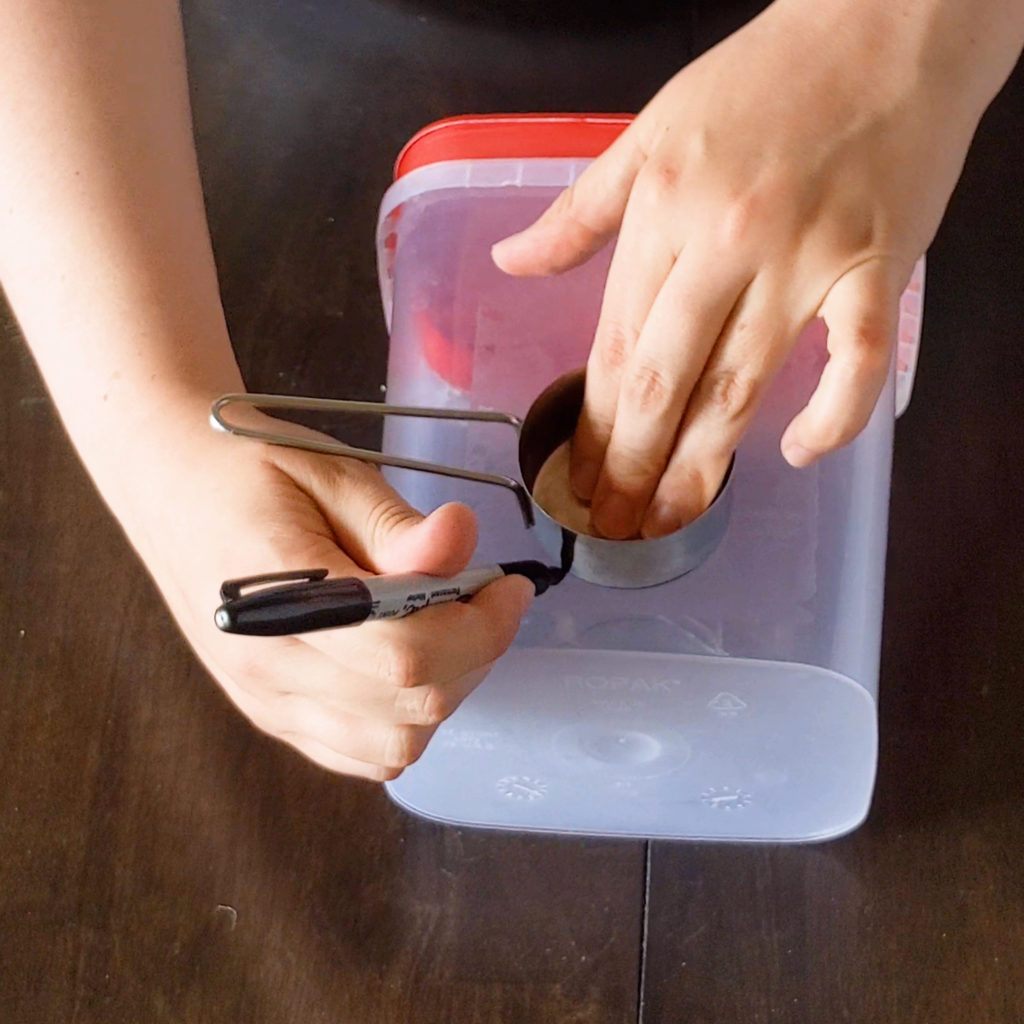
Place the ⅓ cup measuring cup where you want the hole and trace around it with a permanent marker. Make sure the hole isn’t much larger than this, so that the bird feels like this is a safe, protected place to keep a nest.
STEP 4
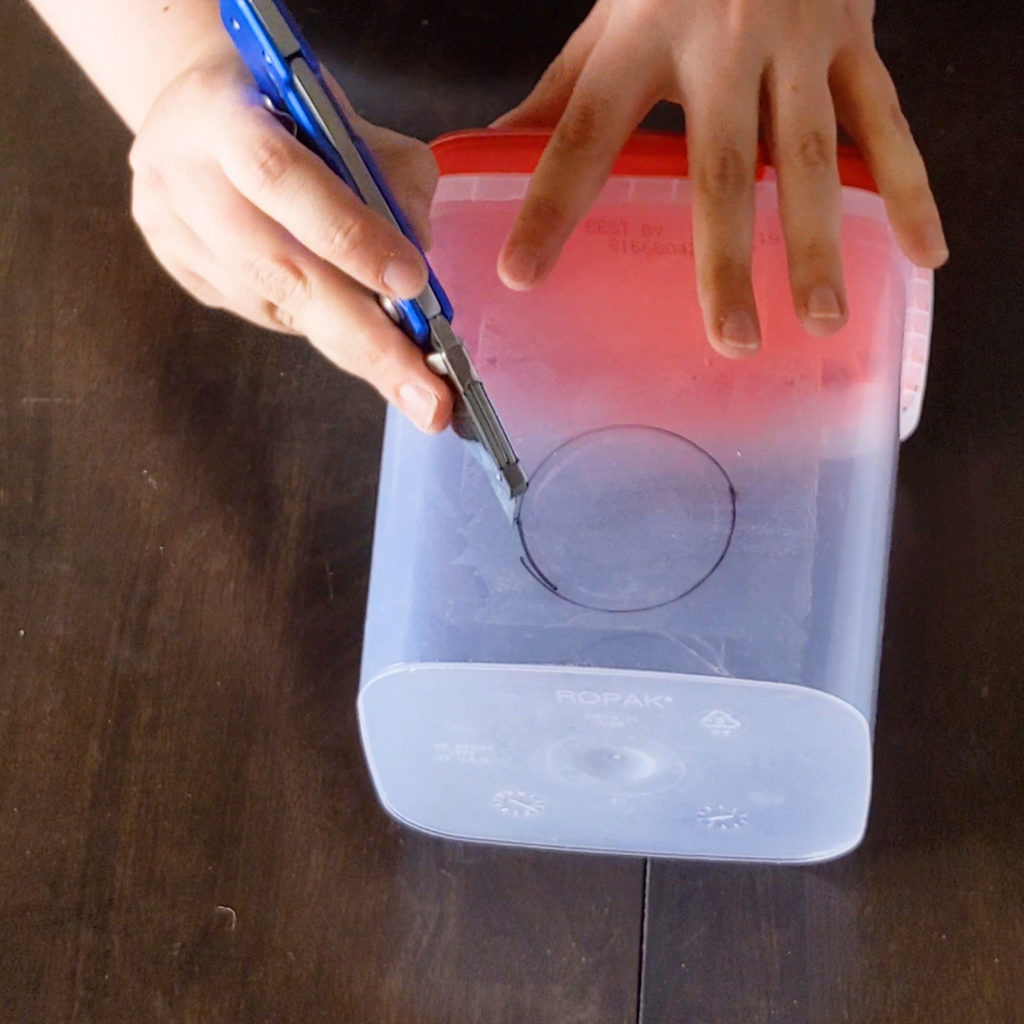
Ask an adult to use a sharp tool to cut a hole in the container. Make sure there aren’t any sharp points sticking out! You may have to use sandpaper to smooth out the edges.
STEP 5
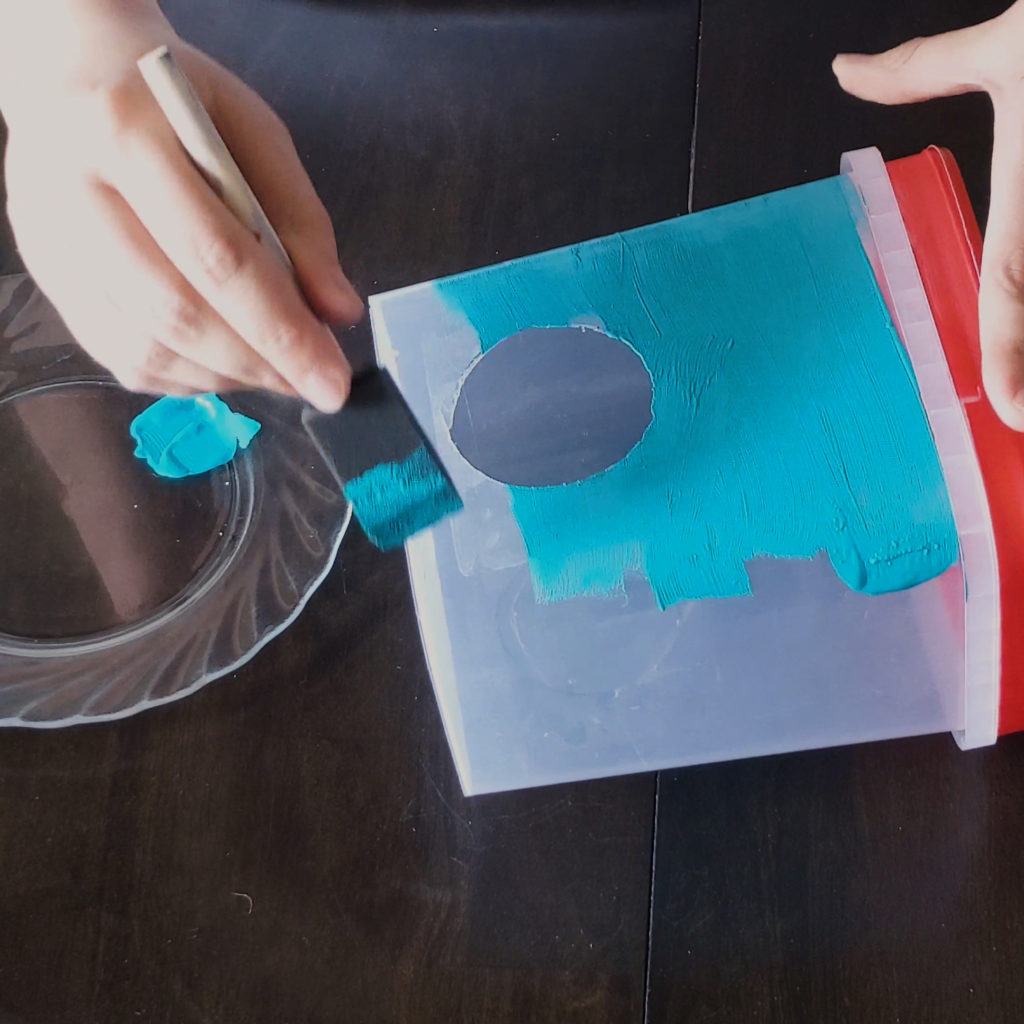
Go wild with decorations!
STEP 6
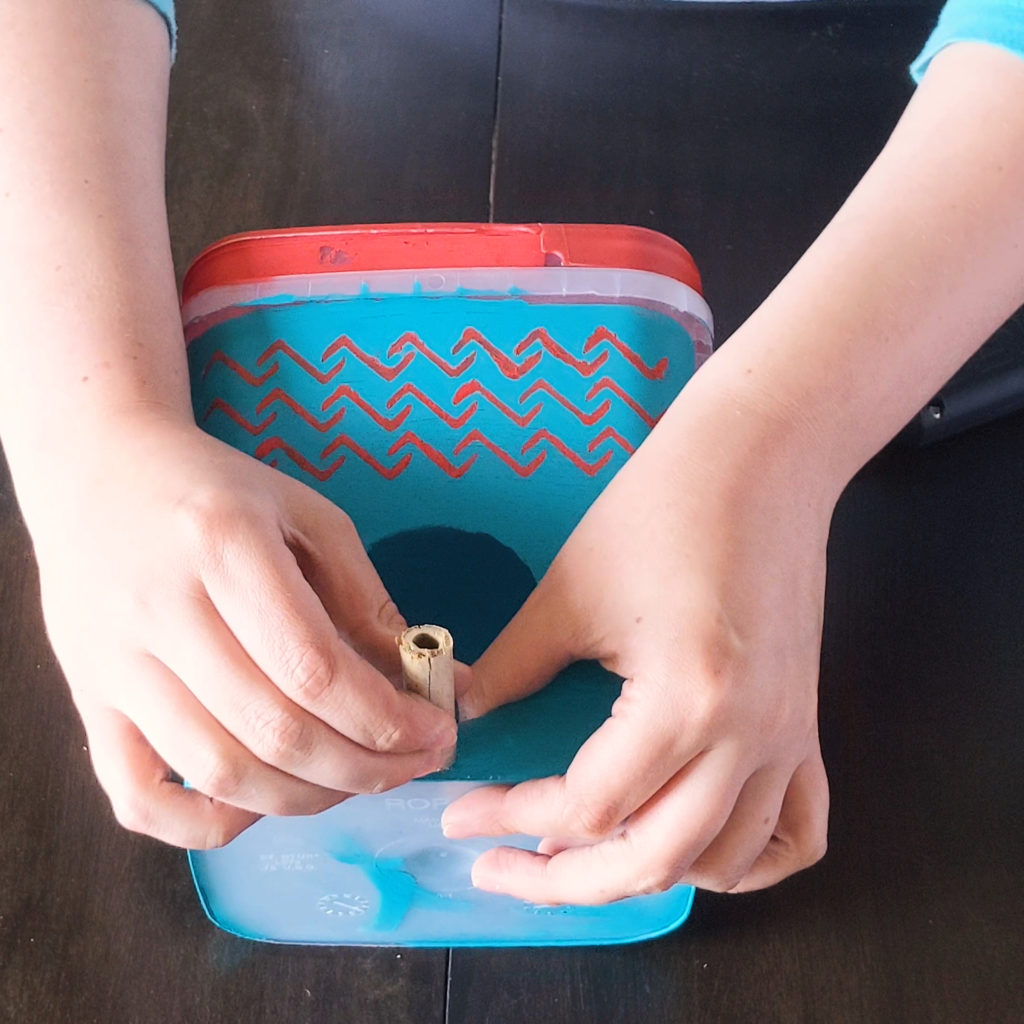
Hot glue the dowel or stick underneath the hole
STEP 7
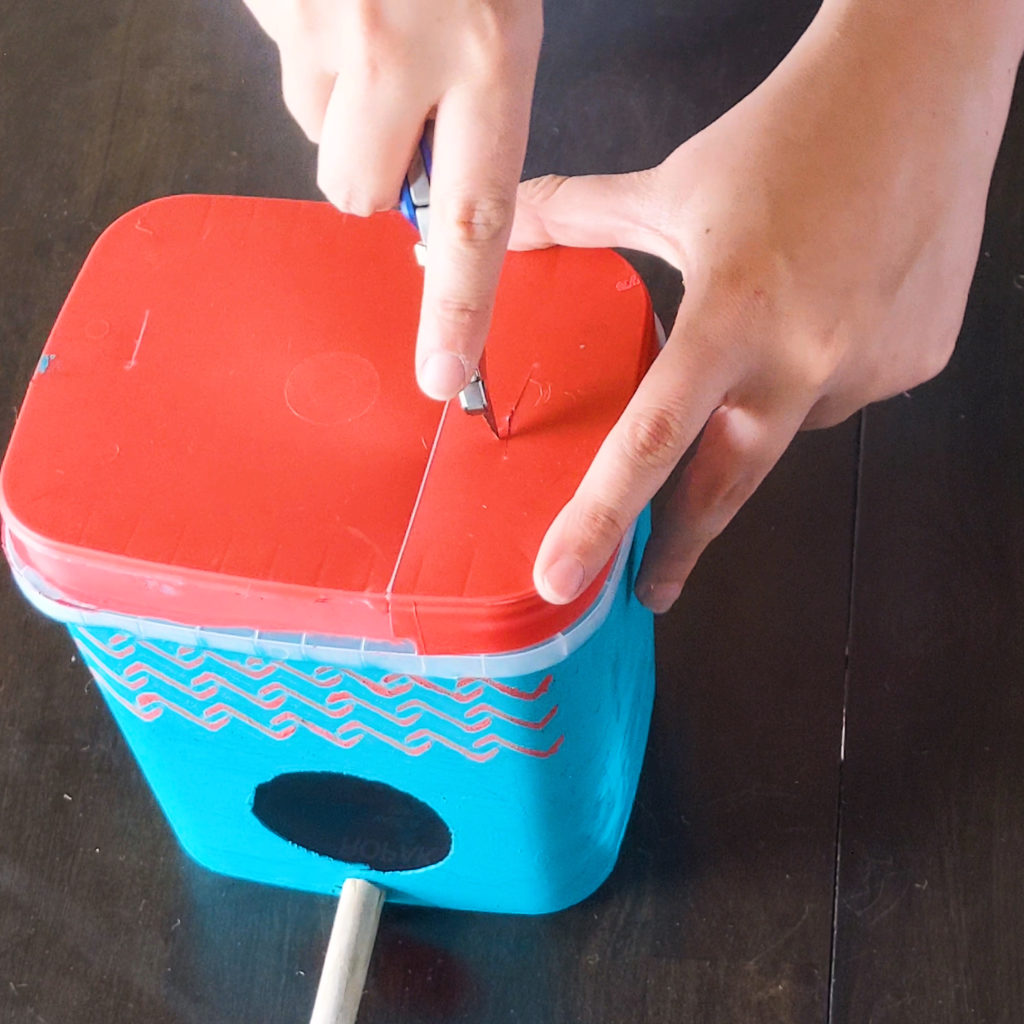
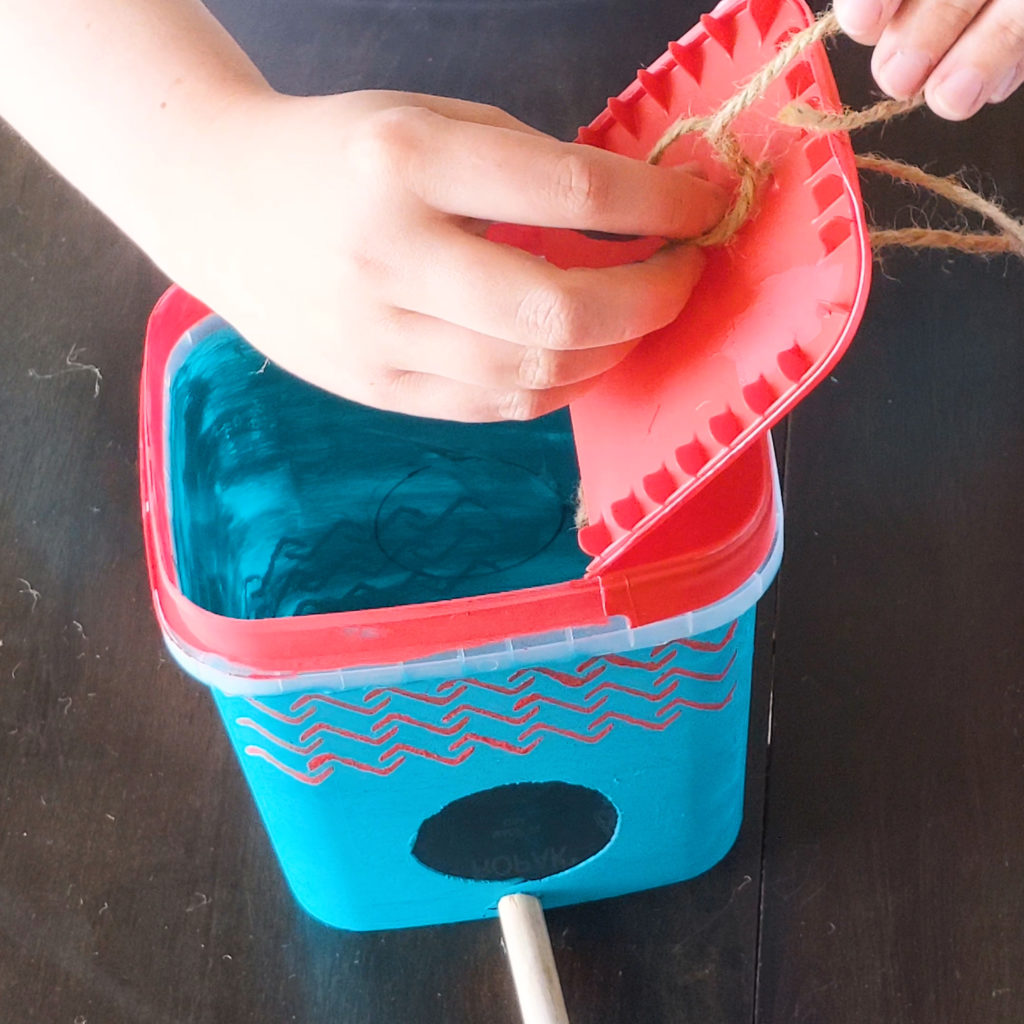
Cut two slats on top of the container
STEP 8
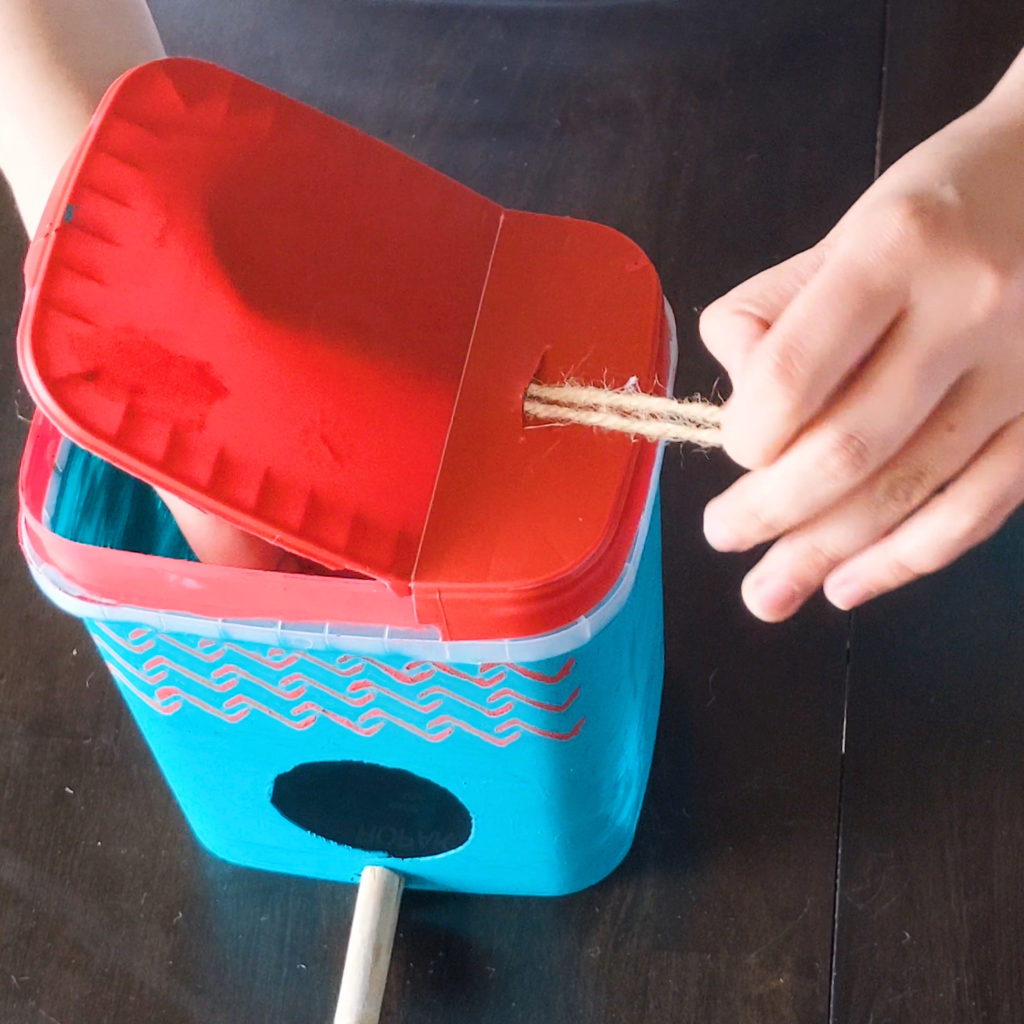
Tie a knot on one end of the rope and thread it through from underneath then back over into the other slat to create a loop
STEP 9
Tie another knot on the opposite end of the rope and cut off the extra string
STEP 10
Use the string to hang the birdhouse in or near a tree. Try to choose a shady area where the temperature inside the birdhouse will stay nice and comfortable


